Biotechnology |
Lab OverviewA Zombie Virus outbreak occurred at El Capitan High School requiring our Biotechnology class to track down the virus and figure out who was infected! To determine who was infected we tested serum samples for the presence of antibodies that would be present if the person had been exposed to the disease-causing pathogen. Scientists usually look at the body's reaction to the pathogen to determine who is infected. However, when pathogens are hard to detect, the ELISA test can be used. Our Biotechnology class used this test (ELISA) to determine who was infected. After the test, my partner and I discovered that we were both infected with the Zombie Virus.   Post Lab- During the ELISA test, the wells were washed after every step in order to get rid of the unbound materials and prevent a false positive. - If the patient does not have the Zombie Disease, a positive test may still occur because of cross contamination between the wells when using multiple samples or contamination affecting the positive control. - The positive control sample (+) was positive. My sample (T) and my partner's sample (a) were also positive. I can determine that these were positive because the substrate changed from clear to blue representing that the enzyme linked antibody (ELA) was present and it would only be present if it was attached to an antibody from the sample serum which was attached to the antigen of the pathogen. The negative control sample (-) was negative because it didn't react and change color. - The tests were performed in triplicate to make sure the results were consistent and accurate.  https://ib.bioninja.com.au/_Media/elisa_med.jpeg
0 Comments
Lab OverviewIn the size exclusion chromatography lab, we prepared a size exclusion chromatography column and applied a mixture of hemoglobin and vitamin B12 to the column. We then collected 5 drops in each tube from tube 2 - tube 9 and 10 drops in tube 10. We observed the separation of the molecules from the column as we progressed through the tubes and analyzed our results. Lab Results Post Lab1. Hemoglobin and vitamin B12 were separated shown by the different colored drops that were collected in the tubes. While Hemoglobin came out first in a brownish color, B12 came out next with a reddish color. 2. The column fractions in tubes 2,3,4, and 5 contained hemoglobin and the fractions in tubes 6,7,8, 9, and 10 contained Vitamin B12. 3. Hemoglobin is larger because it came out of the column first because of the porous beads in the resin that trapped the small molecules and slowed down their progress through the resin. 4. Based on the exclusion limit of the column, I can conclude that the molecules that came out first (hemoglobin) are larger than 60,000 Da and the molecules that came out second (Vitamin B12) are smaller than 60,000 Da. This is because the molecules that are larger than 60,000 Da pass around the beads and are excluded from the column first while the ones that are smaller get stuck in the pores. - Some chemical properties we’ve taken advantage in past labs to separate samples in mixtures include polarity (kool aid chromatography), charge (electrophoresis) and size (centrifuging).
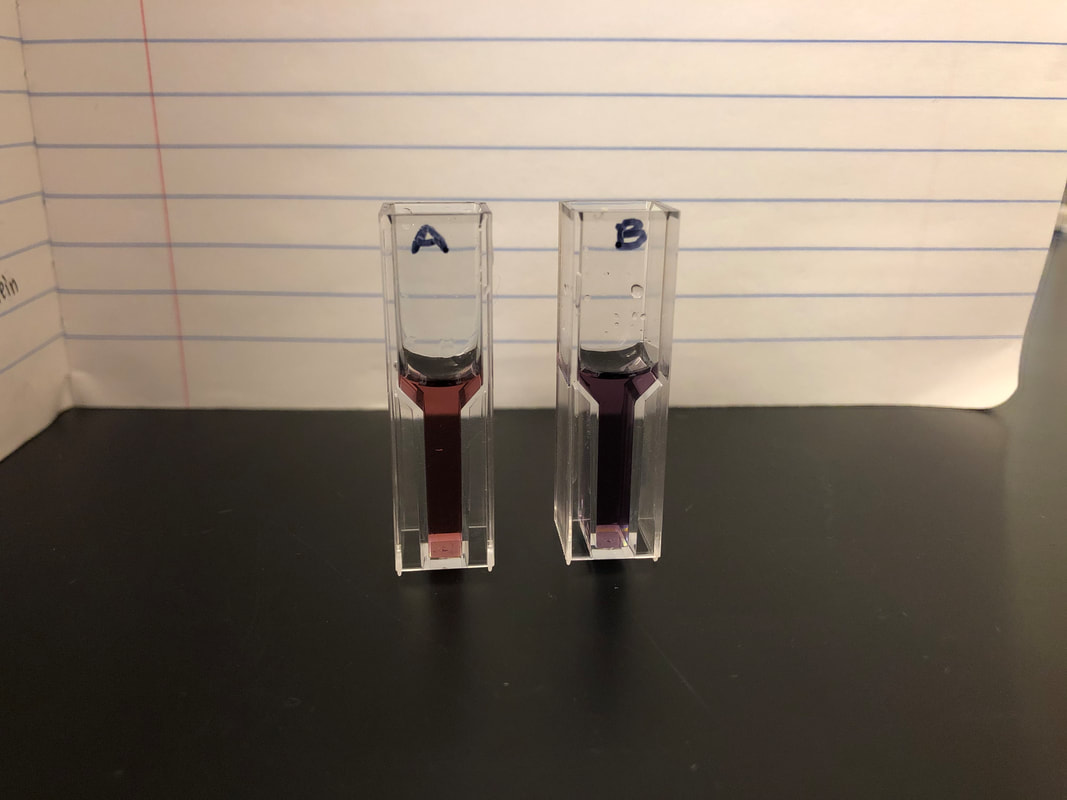
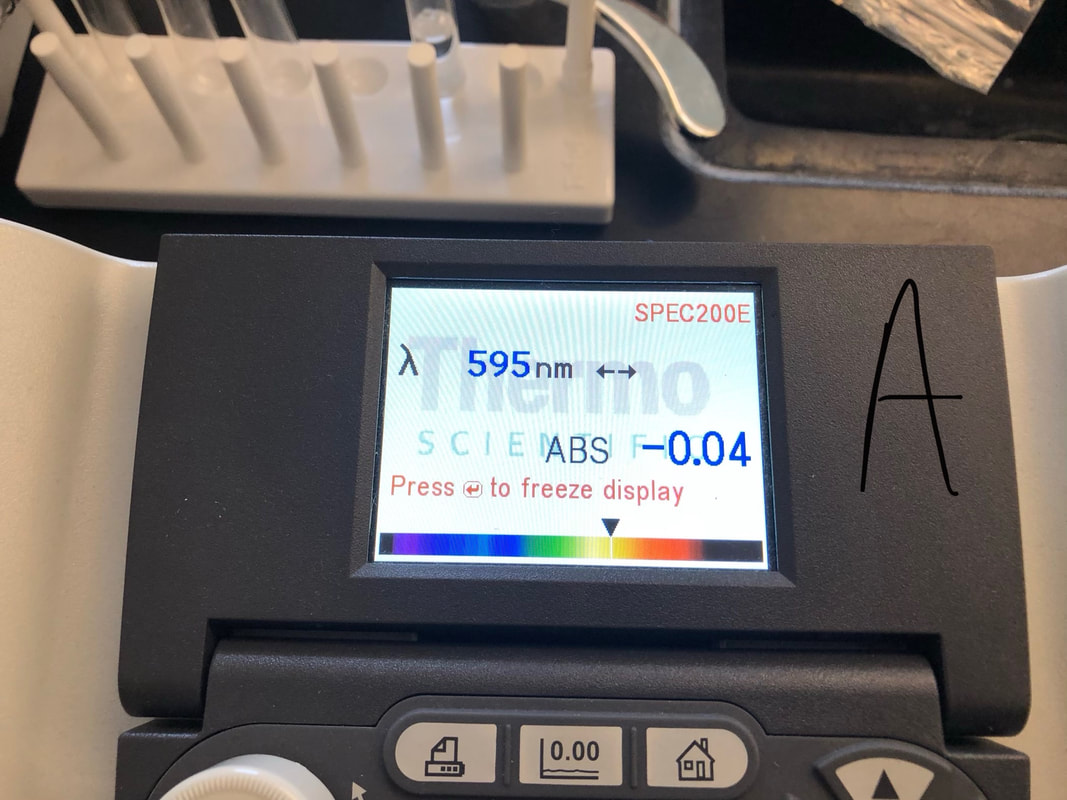
- Protein purification is important in the real world because it helps us to identify function structure and interactions of specific proteins which can then be used for research or industrial and commercial use, such as for medicine. OverviewIn our lab, we quantified protein by performing Bradford assays on two milk samples and a series of standards of known protein concentration. We used a spectrophotometer to measure the absorbance of the Bradford assay samples. A standard curve of protein concentration against the absorbance at 595 nm was generated after analyzing our results. By doing the Bradford assay, we were able to determine the protein concentration in the milk samples. Lab Results
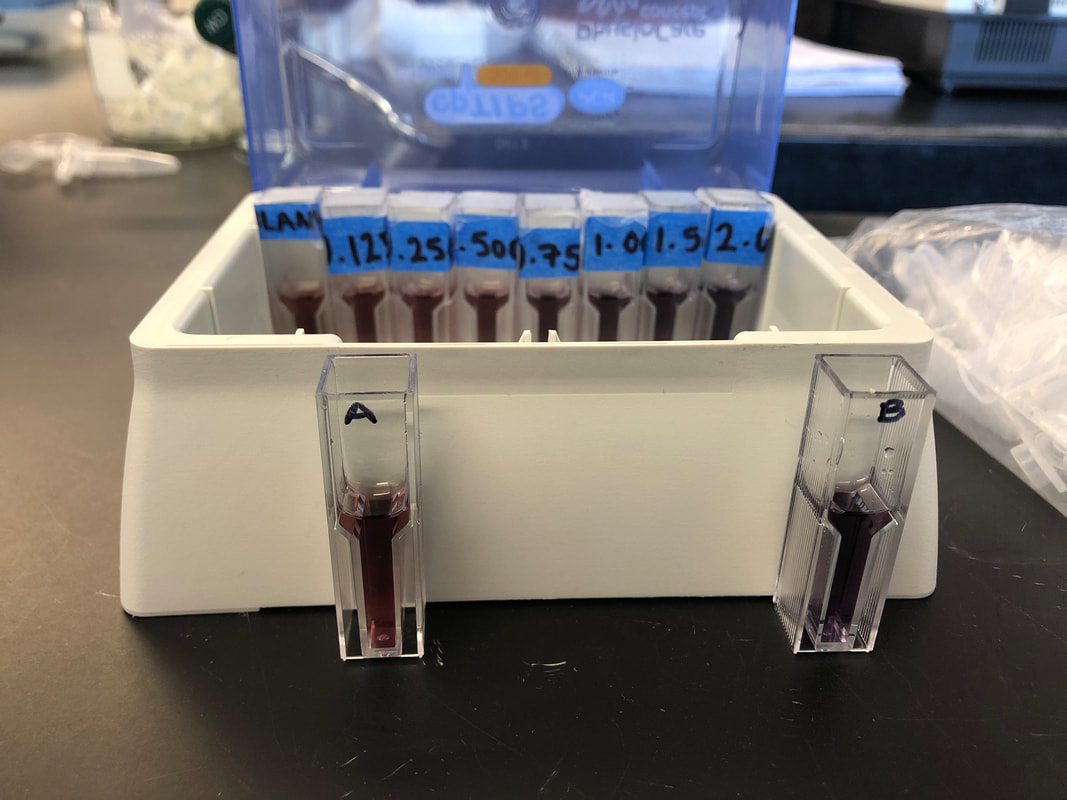
 Standard Curve of Protein Concentration Against the Absorbance  Post LabVisually, Almond milk has .125 mg/ml protein and Whole milk has 1.5 mg/ml protein.
Based on the standard curve and protein concentration Almond milk (cuvette A) has around 0 mg/ml protein which is less than the visually estimated protein concentration of .125mg/ml, and whole milk has around .700 mg/ml which is less than the visually estimated 1.5mg/ml protein given by protein standards. On the Almond milk container it says it has 4.17 mg/ml but we found it has 0 mg/ml. While the whole milk container says it has 54.16 mg/ml per serving of 240 ml, we found it has 35 mg/ml which is less than what is shown on the container. It might be useful to know the protein concentrations in milk or other liquids or foods when building muscle and dieting, so you can know exactly how much protein you are consuming. aIn Activity 5.B, my group and I made growth media. We first streaked an LB agar plate for single colonies. Then, we transformed e.coli HB101 bacteria with the pGLO plasmid. Transformed bacteria was grown on a selective and inducible medium. We calculated the transformation efficiency and controlled the expression of GFP with arabinose through the completion of this activity. There were four plates that were used for this lab. The plate labeled LB/Amp/Ara +pGLO was expected to have growth that glowed green under UV lights. The plate labeled LB/Amp +pGLO was expected to have growth but not glowing green under UV lights. The plate labeled LB/Amp -pGLO was expected to have no growth and no green glowing properties under UV lights. The plate labeled LB Agar was expected to have growth but not glowing green under UV lights. Therefore, the only plate expected to glow green under UV lights after transformation is the one with Ampicillin, Arabinose, and the pGLO plasmid.  LB/Amp -pGLO : there was no growth and it did not glow green. LB/Amp/Ara : there was some growth but it did not glow green. LB Agar -pGLO : there was a bacterial lawn (growth) and it did glow green. LB/Amp +pGLO : there was no growth and it did not glow green. Post LabOne of the colonies grown on the LB/Amp/Ara plate did glow green under UV light because it was transformed. There were anomalies in our results since the plates should have been:
LB/amp/Ara +pGLO: growth and glow LB agar -pGLO: growth, no glow LB/amp +pGLO: growth and no glow This could have happened because of mislabeling when making the plates or mixing up the +pGLO and -pGLO tubes when we inoculated. Considering our expected results for LB/Amp +pGLO, the colonies on the plate could be made to glow by adding 5-10 microliters of arabinose directly to one or more colonies on the plate since arabinose controls the expression of the GFP. Lab OverviewIn this Lab, students were able to quantify bacterial numbers. We used seven 60 mm LB agar plates and 50 ml of LB broth to perform a tenfold serial dilution of bacteria. We performed this tenfold serial dilution seven times to dilute the original culture 10,000,000 times. After performing the serial dilution, we spread each dilution on an LB agar plate and incubated them overnight. After incubation we counted the colonies on each LB agar plate and calculated the concentration of bacteria in the original culture in CFU/ml. Lab ObservationsPost Lab- There were 163,552,500 bacteria per milliliter of culture that were in the original culture. I am pretty confident with this number.
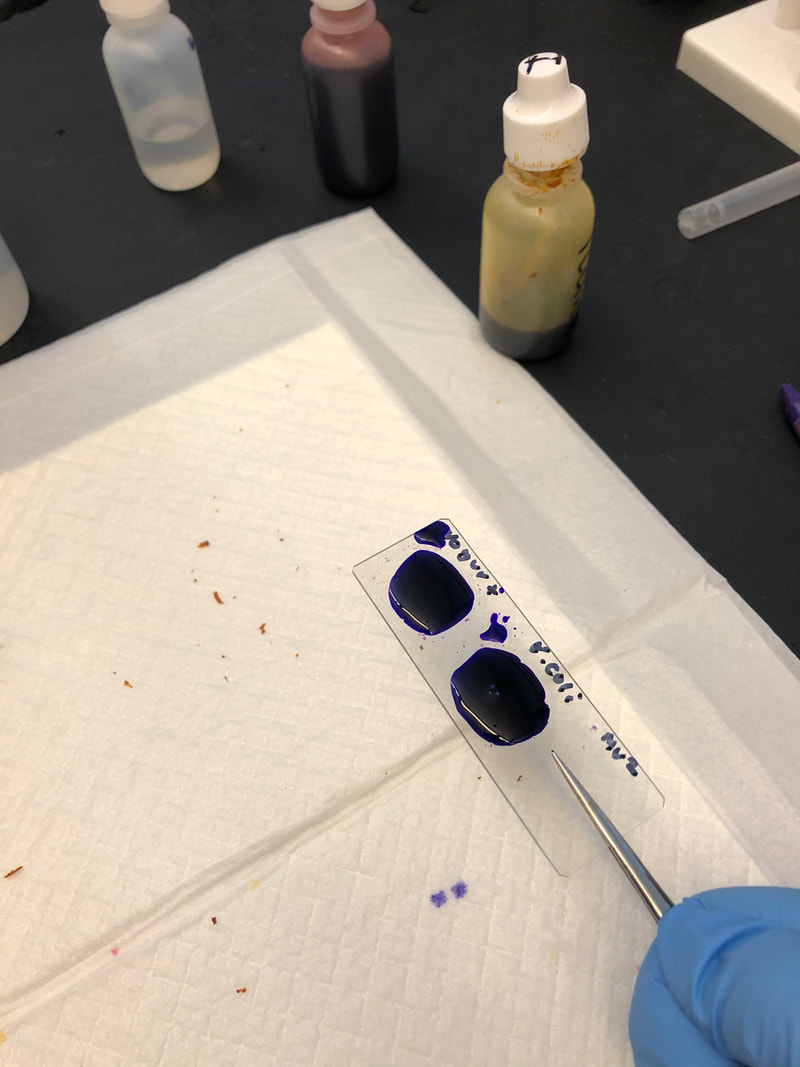
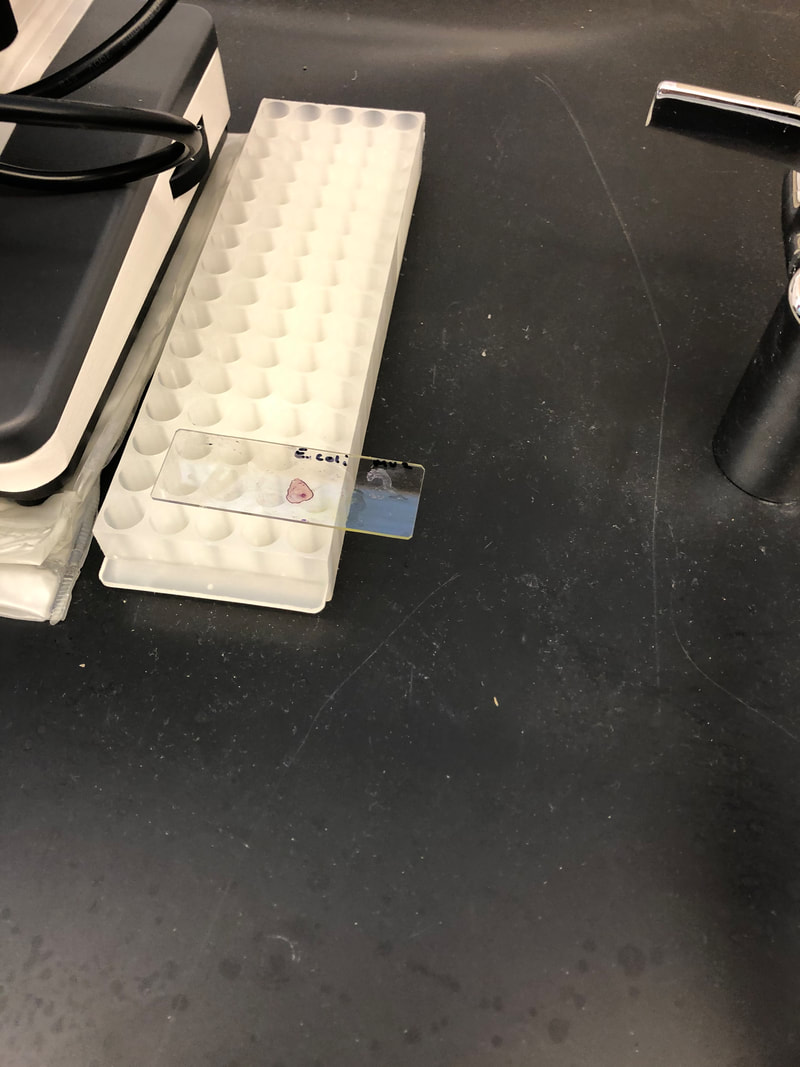
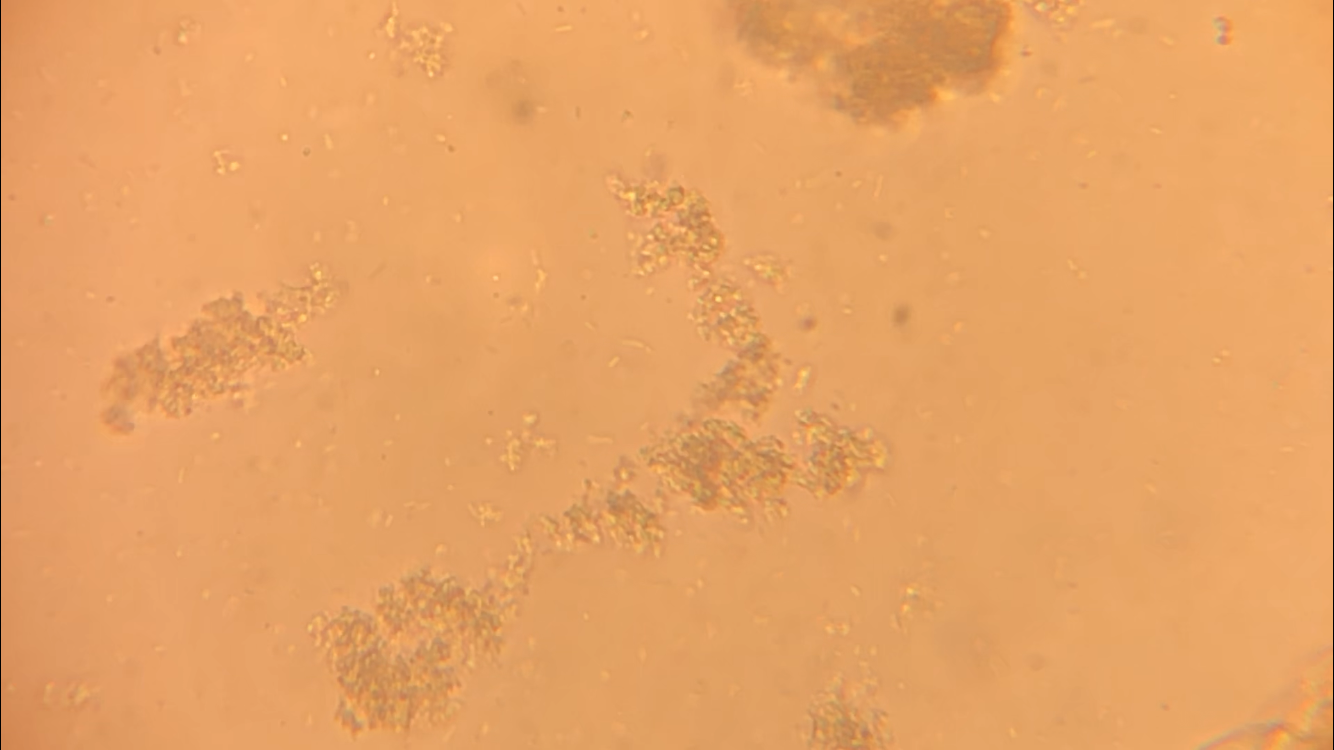
CFU plate 10^7: 5 5 x 10^7 x 1000/100 = 5 x 10^8 CFU plate 10^6: 15 15 x 10^6 x 1000/100 = 1.5 x 10^8 CFU plate 10^4: 30 30 x 10^4 x 1000/100 = 3 x 10^6 CFU plate 10^3: 121 121 x 10^3 x 1000/100 = 1.21 x 10^6 5 x 10^8 + 1.5 x 10^8 + 3 x 10^6 + 1.21 x 10^6 = 654,210,000 654210000/4 = 163,552,500 bacteria per microliter - Not each serially diluted sample had exactly 10 times the number of CFU as the previous dilution. The samples were different because the 10 and 10^1 plates had a very high number of colonies whereas the plates following decreased very rapidly in CFU's. The samples may not have been proportional because of the difference in the bacteria the pipette picked up when diluting and mixing the samples. - I could change the experiment to more accurately determine the number of CFU in the culture by performing the serial dilution more times after 10^7 to get a more precise reading of the colonies. Lab OverviewIn Lab 3.D, students performed Gram staining and made observations of their results. We mounted bacteria on a microscope slide using aseptic techniques. Then we performed Gram staining of Yogurt and E.coli bacteria. We stained the bacteria samples by dripping crystal violet stain to soak the bacteria. After 1 minute, we rinsed off the stain with water. Then, we added Gram's iodine to cover the bacteria samples and let it stand for 1 minute. After rinsing the Gram's iodine off the slide, we added drops of decolorizer to the bacteria samples, letting it flow off the slide. Then, we counterstained the bacteria with safranin stain and let it stand for 1 minute. We rinsed off the safranin stain with water and blotted the excess water from around the bacteria. Finally, we determined the gram status, cell shape, and size of bacteria by looking at the results of the Gram staining under the microscope.
Results
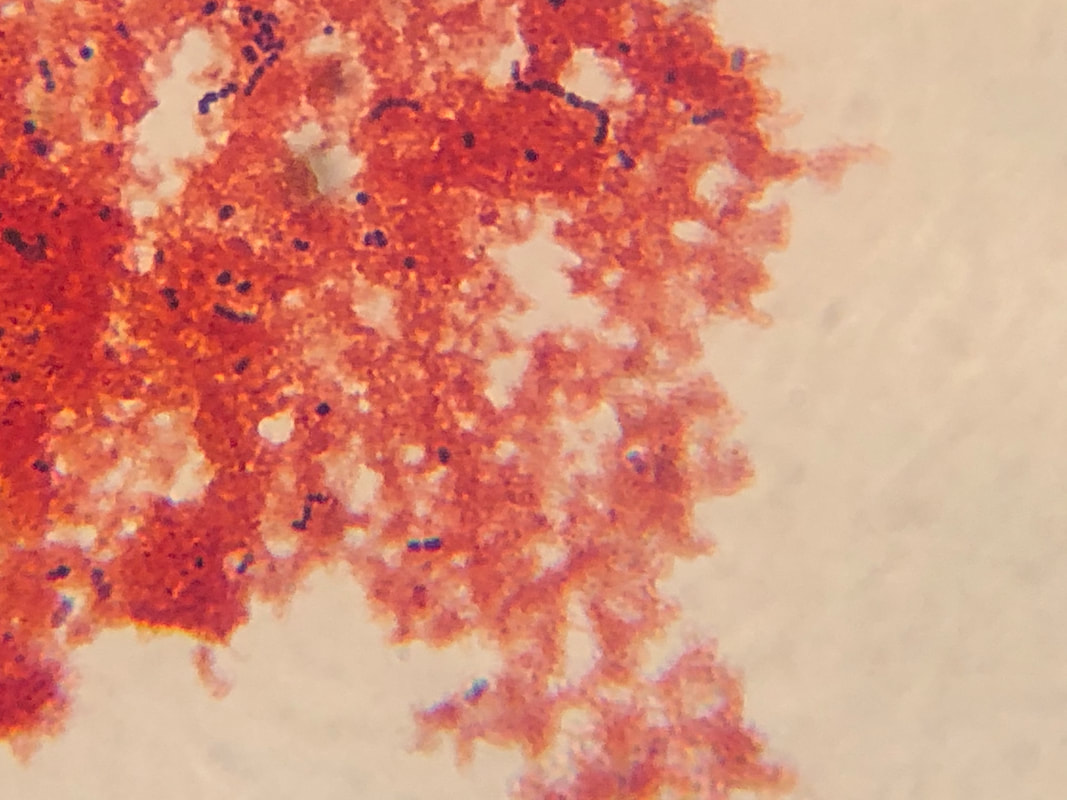
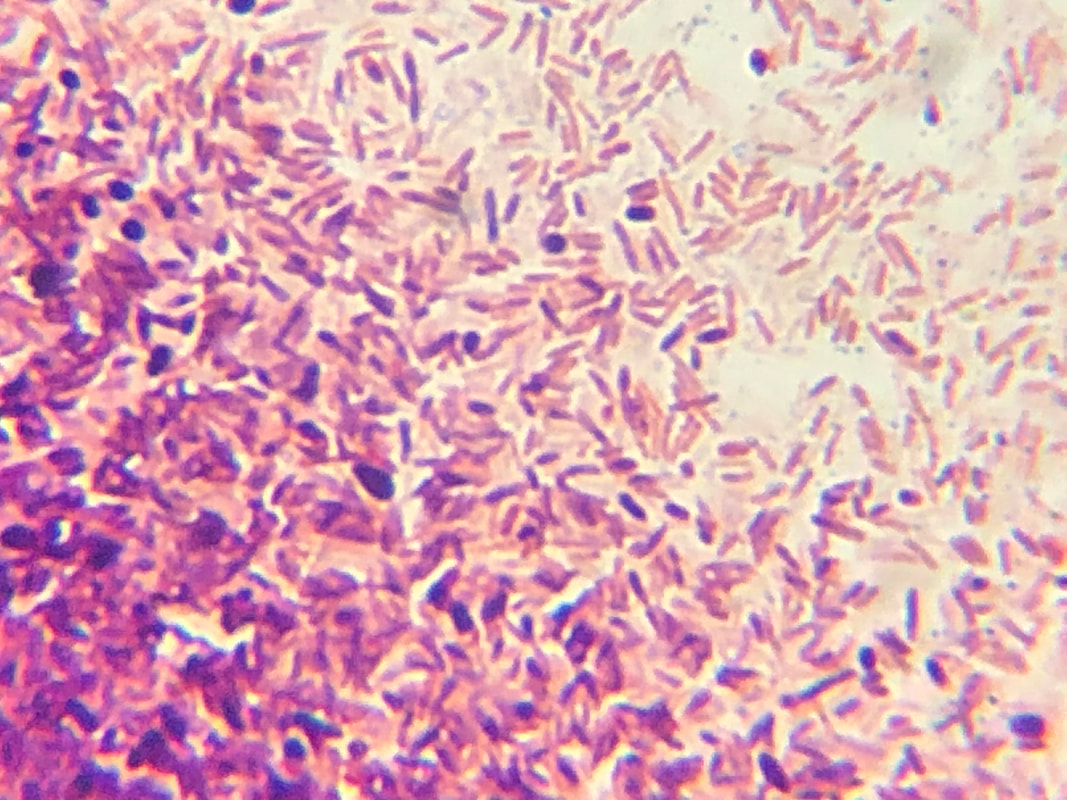
Post Lab- Bacteria found in yogurt bacteria are gram-positive while the bacteria found in E. coli HB101 bacteria are gram-negative. The evidence that proves this is the color of the stained bacteria. The gram status of yogurt stains purple and shows that the bacteria's cell structure has a thick cell wall while the gram status of E. coli HB101 stains red and shows that the bacteria's cell structure has a thin cell wall.
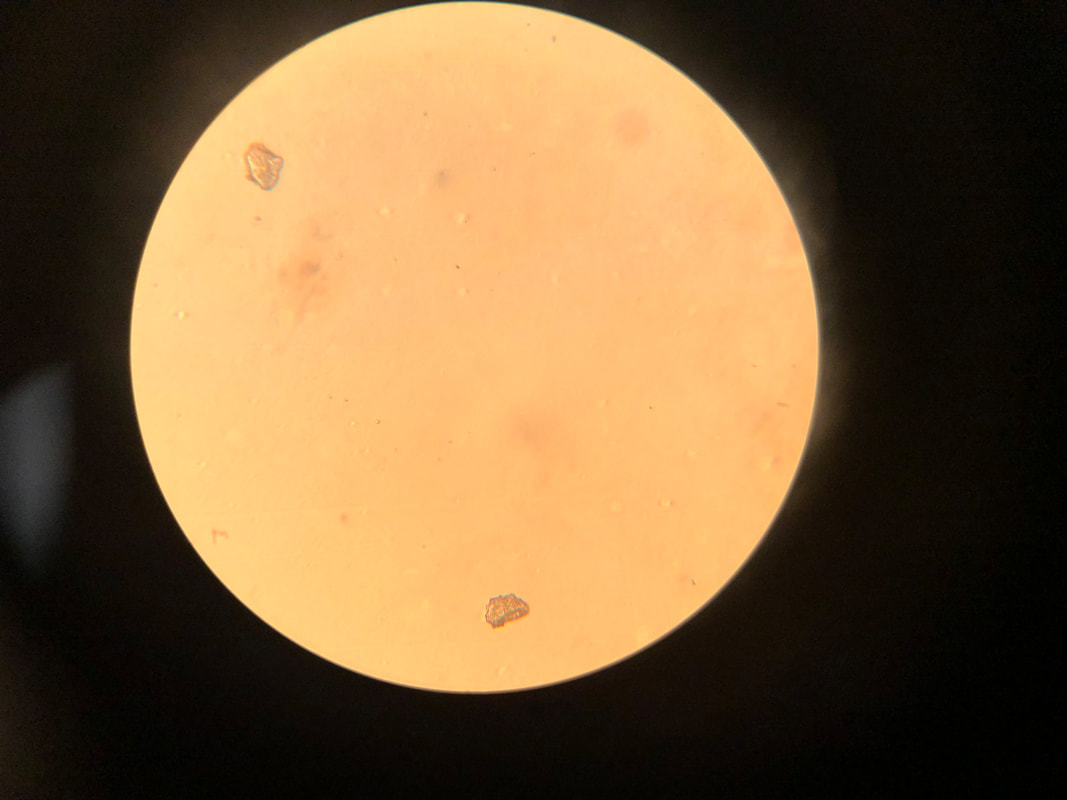
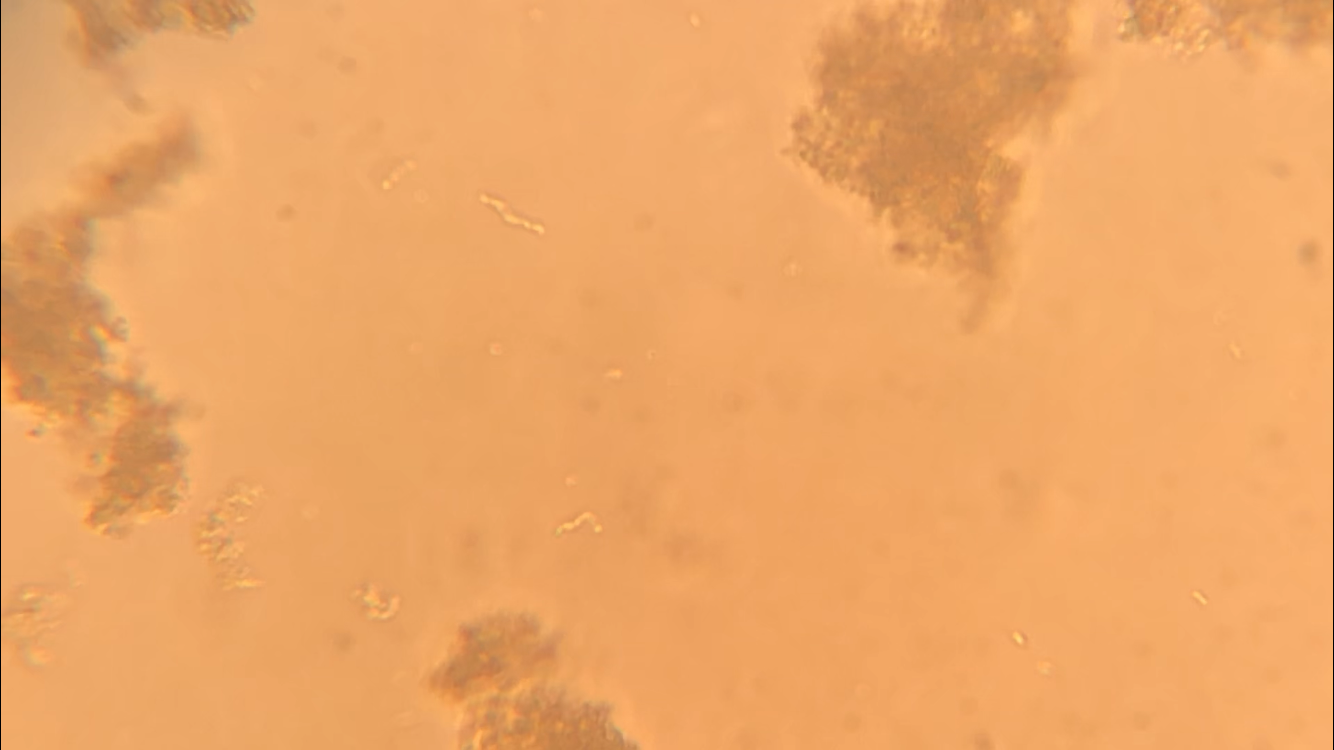
- The highest magnification we used to to view the various bacteria was 100x with a total of 1000 magnification. - The shape of yogurt bacteria was round and circular (streptococcus and coccus) while the shape of the E. coli HB101 bacteria was round and oval-like (bacillus). - There were more than one type of bacteria present on the yogurt sample (streptococcus and coccus) but only one type of bacteria present on the E. coli HB101 sample. Considering this was my first time streaking a plate, I did not do very well. I probably took too much bacteria when streaking, so my plate had contamination and I wasn't able to identify any distinct colonies.  My Streaking Experience....- May not use aseptic technique, may not have held the lid over the plate while streaking, and may have gouged the surface of the agar through incorrect use of inoculation loop.
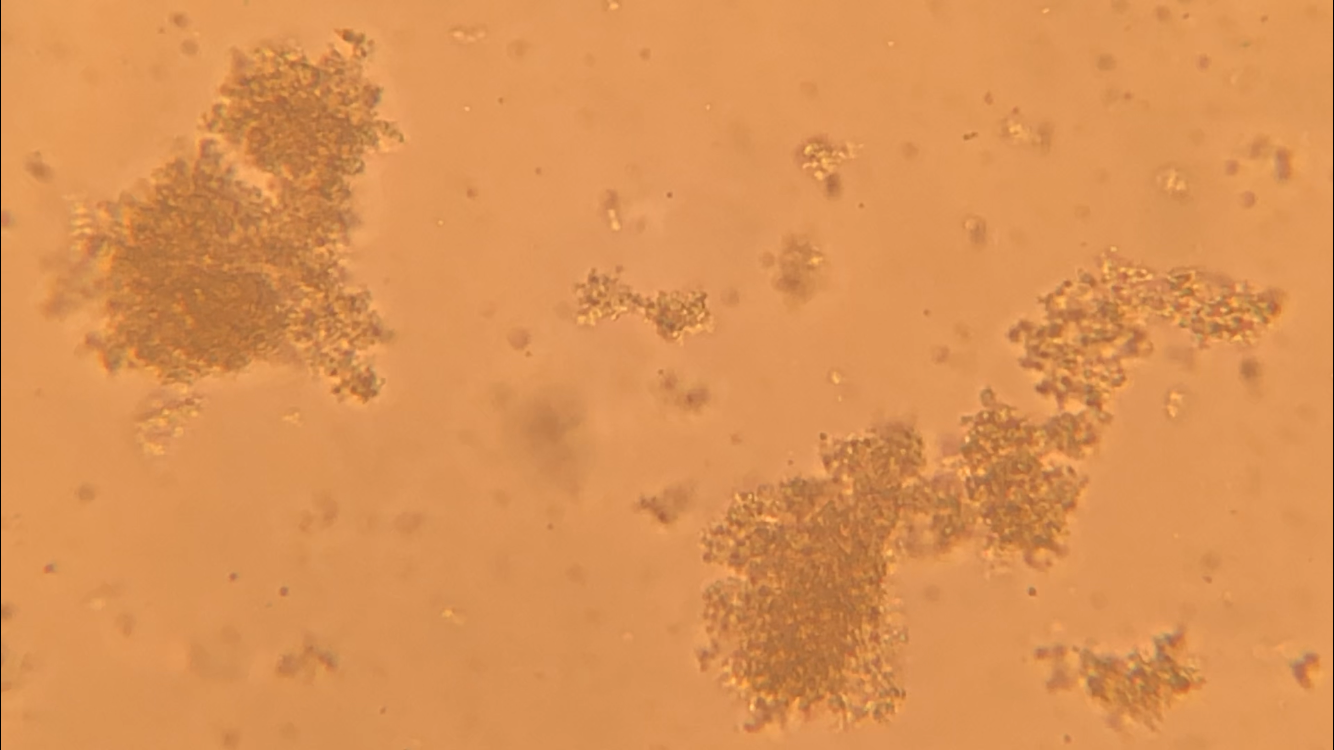
- Plate may be contaminated or cannot be used to obtain a single colony. - May not demonstrate ability to streak bacteria to isolate a single colony. In Activity 3.C , we made observations of milk and yogurt under the microscope. We streaked plates and isolated bacteria from yogurt, milk, and E. coli HB101 cultures. Bacterial colonies were identified and described, and the isolated bacteria samples were compared to the original samples under the microscope. Each part of the lab performed followed Koch's Postulates. 1) Microorganisms are isolated from dead animals. A sample of yogurt was isolated and examined under a microscope. 2) Microorganisms are grown in pure culture and identified. Yogurt samples were streaked on an agar plate and incubated. After incubation, bacterial colonies for yogurt were identified. 3) Microorganisms are injected into healthy animals. Samples of bacterial colonies from yogurt were stirred into wet mounts of original milk and yogurt samples. 4) Disease is reproduced in second animal. When slides are looked at under the microscope, bacteria from yogurt has spread through original samples. 5) Microorganisms are grown in pure culture and identical microorganisms are identified. Samples of the bacterial colonies from yogurt are stirred into original samples of milk in test tubes. Test tubes are incubated and microorganisms are identified when compared to original milk samples that don't contain the bacteria from yogurt. After incubation, test tubes with injected pathogen had "yogurtness." ObservationsMicroorganisms were isolated from yogurt and the samples were seen under the microscope. When reinoculated into fresh milk, the microorganisms caused yogurtness. When samples of milk inoculated with original yogurt samples were compared to milk inoculated with microorganisms from yogurt, the tubes all had properties of yogurtness. While the test tubes inoculated with plain yogurt were completely chunky with no watery properties, the tubes inoculated with microorganisms from yogurt were still chunky but contained more liquid. However, the tubes inoculated with microorganisms from yogurt smelled worse than the tubes inoculated with just yogurt. Streaked Plates:  Microorganisms from Streaked Plates Examined under the Microscope:
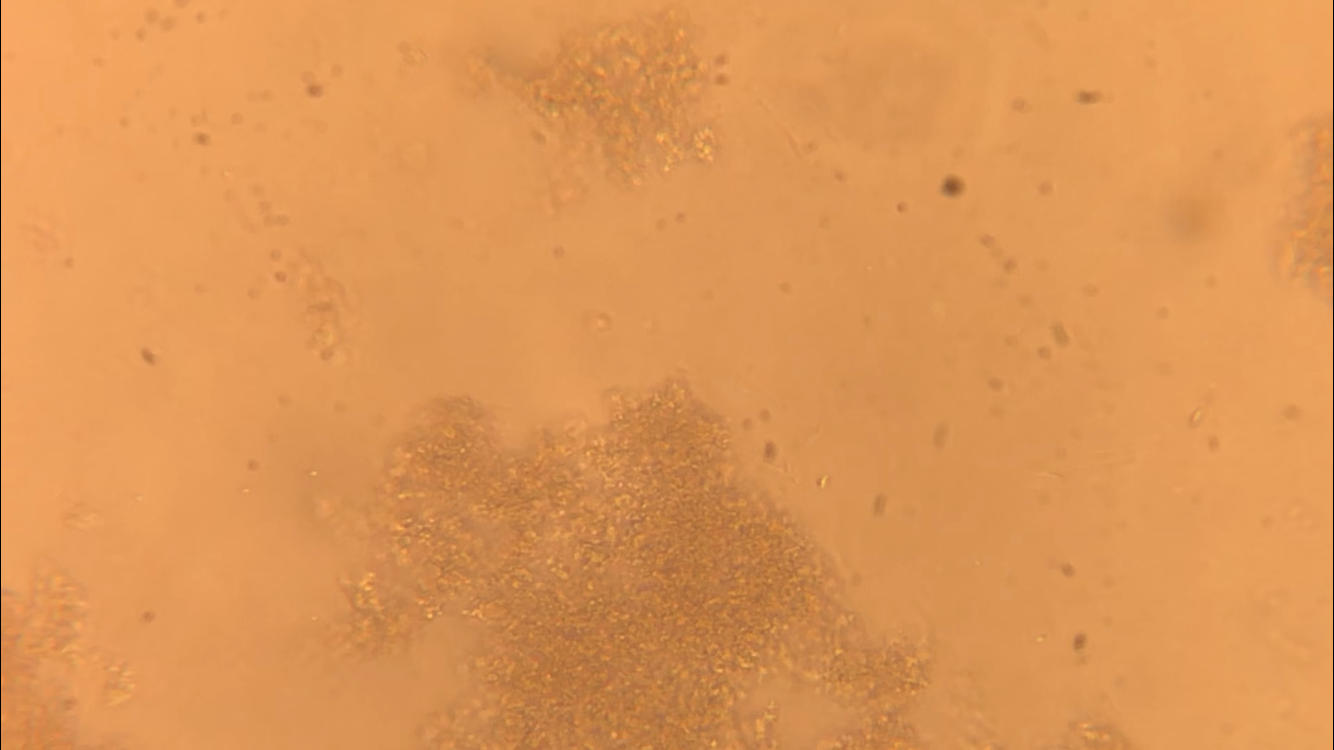
Incubated Milk from Test Tubes Examined Under the Microscope:
Post LabThe purpose of the tubes containing scalded milk alone was to have a controlled variable in order to compare to the injected samples. The purpose of the E. coli culture with ampicillin and the yogurt with ampicillin was to show what bacteria in a pure sample looks like and how the antimicrobial works with each type of bacteria. It's purpose is to prove which microorganism is stronger, E.coli or yogurt.
If there were more than one type of bacterium growing on agar plate streaked with yogurt, you can conclude that one or more bacteria is causing the yogurtness. I can conclude that the cause of yogurtness in the test tubes was from the microorganisms taken from the agar plates streaked with yogurt. I can conclude this because the tubes containing yogurt microorganisms had the same yogurtness properties as the regular yogurt samples. Also, the tubes containing E. coli did not have the same properties which proves the only way for milk to have yogurt properties is when they are incubated with yogurt microorganisms. Koch's Second Postulate, Microorganisms are grown in pure culture and identified, is tested by inoculating an agar plate with yogurt. Not all bacteria turns milk into yogurt. This is proven by the control tube inoculated with an E. coli sample. After the tubes were incubated, this tube did not turn milk into yogurt, it just molded. This proves that not all bacteria will make milk have yogurtness. We added antibiotics to one of the tubes (yogurt + ampicillin) to test the effectiveness of the antibiotic to the bacteria. It is used to show that if ampicillin was added to the tube containing the milk, the bacteria would be killed after incubation because of the antimicrobial properties of ampicillin. Pre LabIn the Disk Diffusion Test Lab (Activity 3.B) we placed disks with different food samples on agar plates with different types of bacteria to test the antimicrobial properties of different foods against bacteria. We made two salsa plates with tomato, garlic, onion, cilantro, and jalapeno. One of the salsa plates had an E. coli HB101 culture bacterial lawn and the other salsa plate had a S. cerevisiae culture bacterial lawn to test the effectiveness of salsa ingredients on different bacteria. Our other plate had food samples of our choice (cherries, cinnamon, coconut oil, and lemon) that were placed on the same S. cerevisiae culture bacterial lawn. The purpose of this lab was to test which antimicrobial agent is most effective against E. coli HB101 culture and the antimicrobial properties of salsa ingredients. Post LabThe main antibiotic we used, ampicillin, was the most effective against E. coli HB101 bacteria while cinnamon sample was the least effective against E. coli HB101 bacteria. Bacteria could be tested for resistance to antibiotics by using this disk diffusion test and including a variety of antibiotics to test. You could test the effectiveness of soaps, toothpastes, medicines, etc. by using the disk diffusion method tested against common bacteria. This test could could be better standardized so that results would be reproducible from laboratory to laboratory by using the same foods to test, monitoring the time the plates are incubating, and all students completing the same procedures.
Garlic showed the best class results against E.coli while onion showed the best class results against S. cerevisiae. Garlic against E.coli had a class average of a 7.25 mm zone of inhibition and onion against S. cerevisiae had a class average of a 5.36 mm zone of inhibition. Some of the antibiotics worked well because of their antimicrobial properties and their effectiveness on the bacteria. Some bacteria were more or less resistant to certain antibiotics because of their DNA and mutations. Based on the class results garlic and onion are most responsible for salsa having antimicrobial properties. I eat these foods often in foods such as rice, tacos, and vegetable dishes! Lab Objectives- Make 50 ml of LB broth - Make one 100mm agar plate and seven 60mm LB agar plates - Make three 60mm LBS agar plates Post-Lab- It is important to store plates at 4 degrees Celsius and use them within one year in order to preserve the plates and prevent contamination.
- It is important to cool agar prior to adding ampicillin because if ampicillin was added before the agar was cool, the hot agar would disintegrate the ampicillin. - Autoclave tape changes colors to indicate when the plates are ready to be taken out of the autoclave. - You can check that your answers to the calculations for ampicillin are accurate by plugging the solution you got back into the equation. - If a classmate were to make media for the first time, the three key ideas or tips you would advise her of before she begins is to use aseptic techniques to prevent contamination, measure everything accurately, and make sure the agar solutions only fill up about 1/3 of each plate. |


 RSS Feed
